Iterm2 + zsh + oh-my-zsh
趁著重新安裝系統,筆記如何安裝及美化 Iterm。(macOS Catalina 的 terminal 已經內建 zsh,省了一個步驟。)
安裝 Homebrew
從安裝 Homebrew 開始,之後會透過 Homebrew 來安裝&管理套件。只要從 Homebrew 官網 https://brew.sh/index_zh-tw 就會提示如何安裝。
在 Terminal 貼上即可安裝
/bin/bash -c "$(curl -fsSL https://raw.githubusercontent.com/Homebrew/install/master/install.sh)"安裝 Homebrew Cask
# 第一次使用 homebrew cask
$ brew tap caskroom/cask -> $ $ brew tap homebrew/cask
$ brew install brew-cask
# 錯誤 Error: caskroom/cask was moved. Tap homebrew/cask instead.
# 現在似乎不用安裝 cask,直接 brew cask install 要安裝的軟體名稱安裝 Iterm2
使用 brew cask 來安裝 Iterm2。
$ brew cask install iterm2brew 和 brew cask 有何不同?
brew 通常主要安裝 command line tools,brew cask 延伸了 brew 的方式,並可以安裝圖形介面軟體。
安裝字型
https://github.com/ryanoasis/nerd-fonts#option-4-homebrew-fonts
$ brew tap homebrew/cask-fonts
$ brew cask install font-hack-nerd-font
安裝 oh-my-zsh
$ sh -c "$(curl -fsSL https://raw.github.com/ohmyzsh/ohmyzsh/master/tools/install.sh)"安裝 Powerlevel9k 在 oh-my-zsh 下
$ git clone https://github.com/bhilburn/powerlevel9k.git ~/.oh-my-zsh/custom/themes/powerlevel9k更改了 .zshrc 檔案後記得要 $ exec $SHELL 才會重新讀取更新後的設定。
9K 還沒開始使用就發現有 10K 了 XD
https://github.com/romkatv/powerlevel10k
安裝 Powerlevel10K
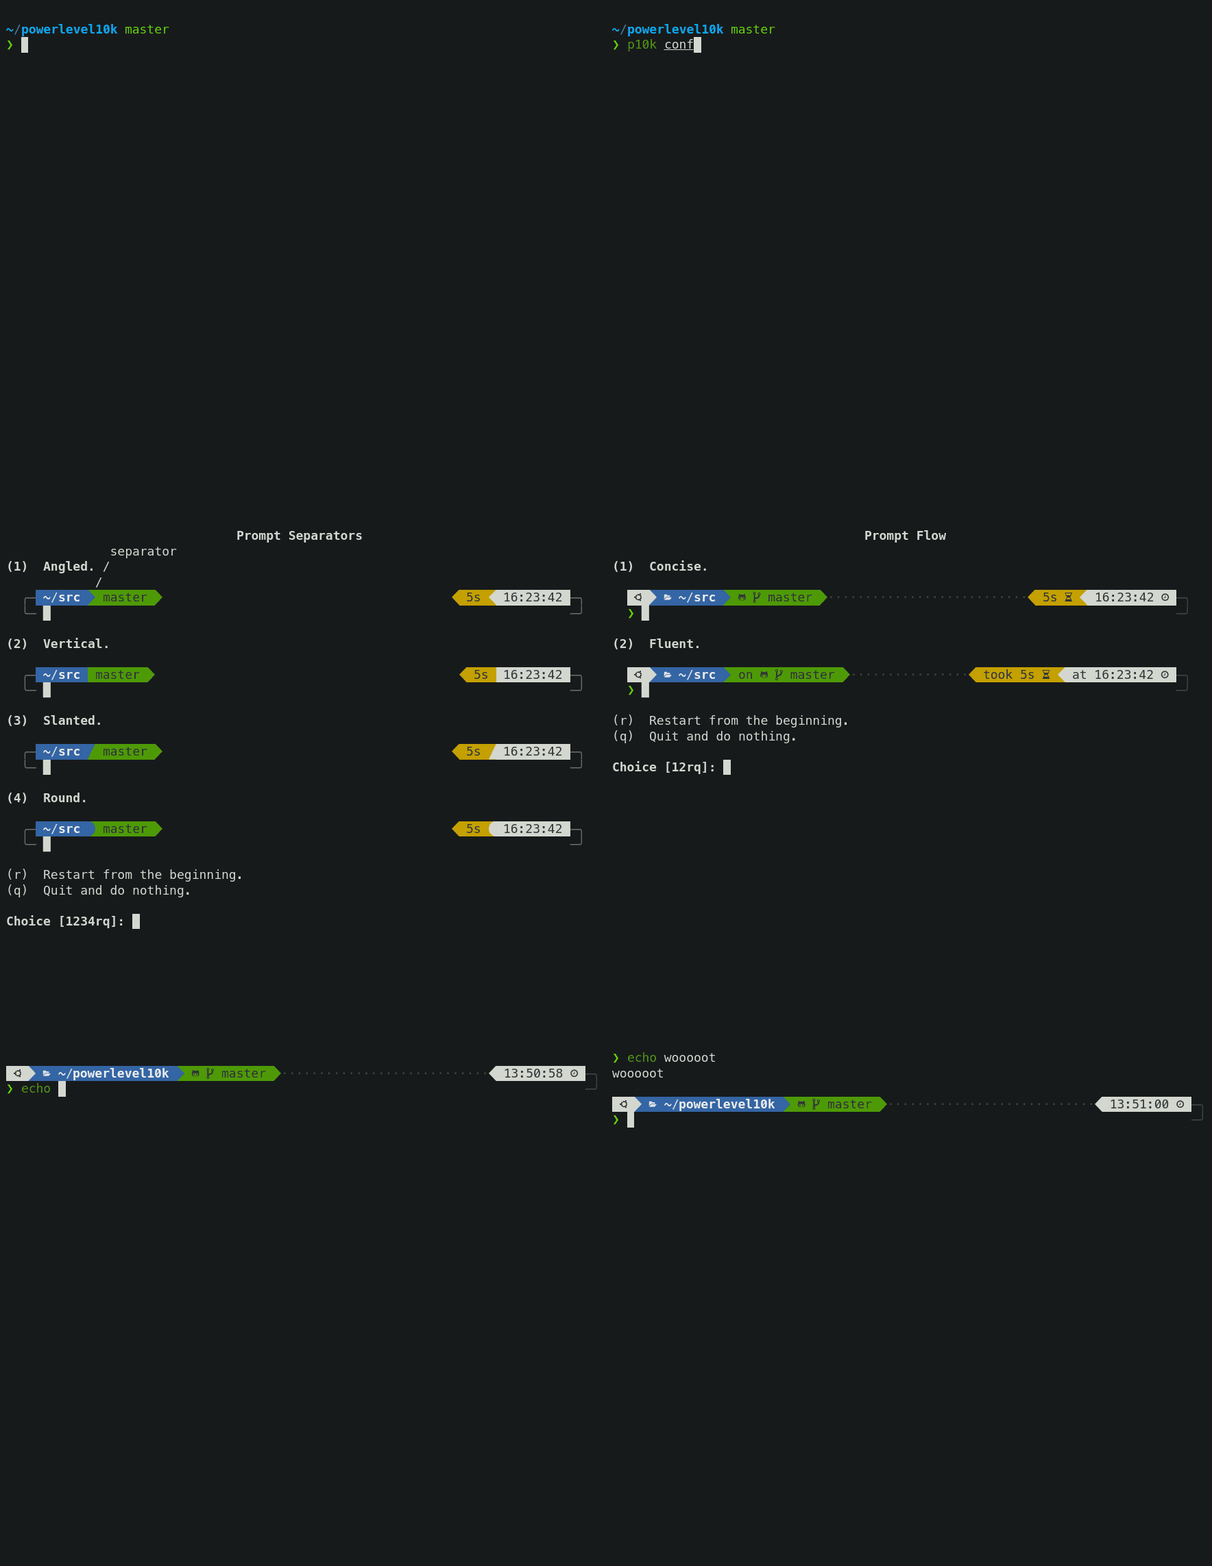
git clone --depth=1 https://github.com/romkatv/powerlevel10k.git ${ZSH_CUSTOM:-$HOME/.oh-my-zsh/custom}/themes/powerlevel10kPowerlevel10K 有內建模板製作精靈,很適合懶人我
$ p10k configure官方示意圖:
Resources:
超簡單!十分鐘打造漂亮又好用的 zsh command line 環境 - Gary Chu (Dec 29, 2017)
[心得] iTerm2 + zsh,打造更好的工作環境 - Huli (Jan 3rd, 2016)
本作品采用 知识共享署名-非商业性使用-禁止演绎 4.0 国际许可协议 进行许可。